VPX Scripting — Part 2 (Linting)
I began a series of posts about editing Visual Pinball (VPX) scripts — specifically the pinball table Teacher’s Pet that the late user, Loserman76, created for VPX. You should think of Teacher’s Pet as representing all of (or any of) Loserman76's tables. He created over 200 tables for VPX, I just happened to choose this one.
The script is the “programmy” part of a VPX pinball table. I was going to dive into the sound code but decided first to insert this little post about “linting” the scripts to Loserman76’s tables.
Don’t know what linting is? Read on. The work I do on the script below is all optional, but you might find it interesting or informative nonetheless.
Linting
“Linting” is a term that, taken generally, means to clean up computer code to conform to some kind of “standard”. And I put standard in quotes because what that standard happens to be is generally arbitrary.
You no doubt are aware of the ongoing wars that are (still) being fought with regard to whether you should indent your code with spaces or tabs. An example of linting would be to choose one way of indenting over the other and then impose it throughout the entire script.
And like the example of tabs vs. spaces, in the end the compiler/interpreter doesn’t care one way or the other. So it is only for us humans that it matters at all. And this is why I mentioned earlier that the changes I make to the script in this post are optional. If you lint, there will be no real computational change to the VPX table at all. But it is possible that you and future scripters will better enjoy the process of editing the script if there is a consistency to it.
And I think that is what I was looking for in Loserman76’s scripts: a consistency in style.
It’s easy to see how different, clashing styles can arrive in a script: code is borrowed from one table, pasted into another. So unless the “paster” does some post-cleanup, you’ll get a mishmash of different coding styles very quickly.
There are tools for linting, but doing a cursory search for Visual Basic linters turned up nothing. (Visual Basic is the language used in VPX scripts.) That’s okay though, the exercise of manual linting lends familiarity with the code.
I’ll go through a couple of examples of things I saw in Loserman76’s tables and how I came down on manually linting them.
Case
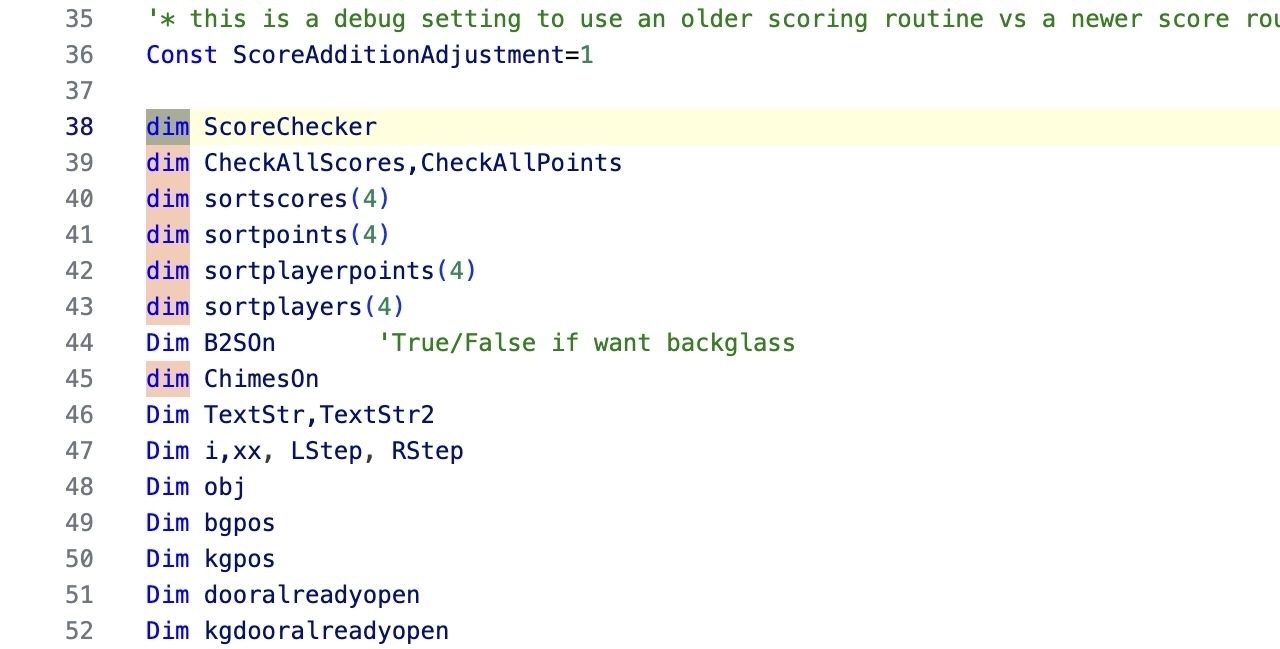
Something I noticed quite quickly was that keywords like Dim (which indicates a variable, I
mentioned this in the previous post) were sometimes uppercase Dim and sometimes lower
case dim. Again, the interpreter will work regardless, but for consistency I wanted to choose
one or the other.
Since the scripting language for VPX tables is a flavor of Visual Basic I decided to go with whatever style Microsoft uses in their own documentation. For Visual Basic they use Pascal Case capitalization.
Or I should write it PascalCase since that is what it looks like. Every “word” in a
keyword (or subroutine name, variable etc.) should be capitalized — including the first word. So it should
be Dim, Const, ElseIf. This is how I proceeded then to lint for
capitalization in the script.
Some other capitalization styles popular in other languages: there’scamelCasethat is similar toPascalCasebut the first letter is not capitalized. In Python, perhaps unsurprisingly, you will often findsnake_case. You’ll seekebab-casein HTML, CSS. And for naming constants, who doesn’t likeSCREAMING_SNAKE_CASE?
My linting for capitalization wasn’t exhaustive. But when I came across a common keyword like
Dim or Exit I would use the VSCode editor (Visual Studio Code — also mentioned
in the previous post) and do a
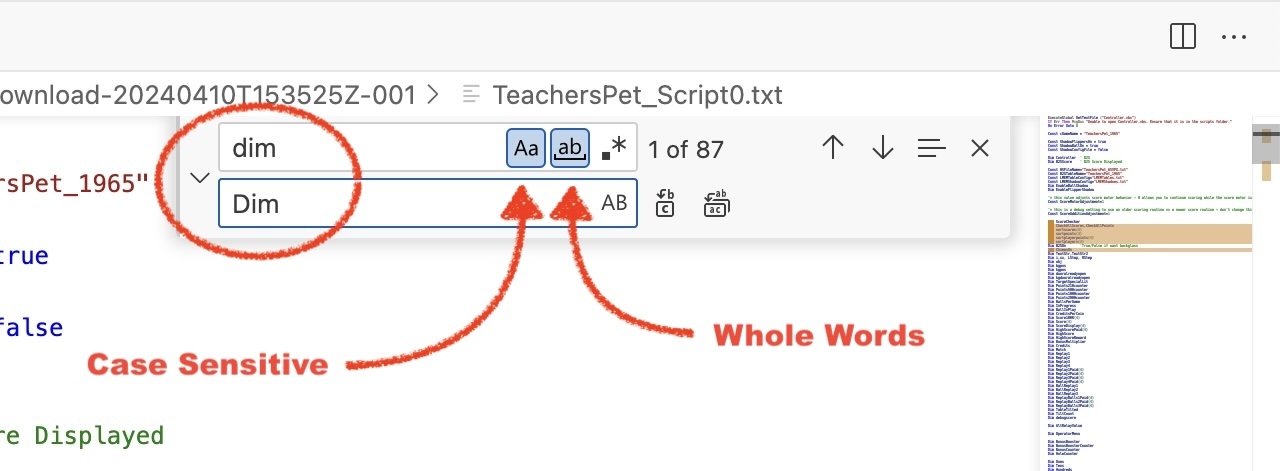
In the above image I am searching for lower-case
Whitespace
You may notice in the script that there is a lot of whitespace. In this case I mean empty lines with no code or comments on them.
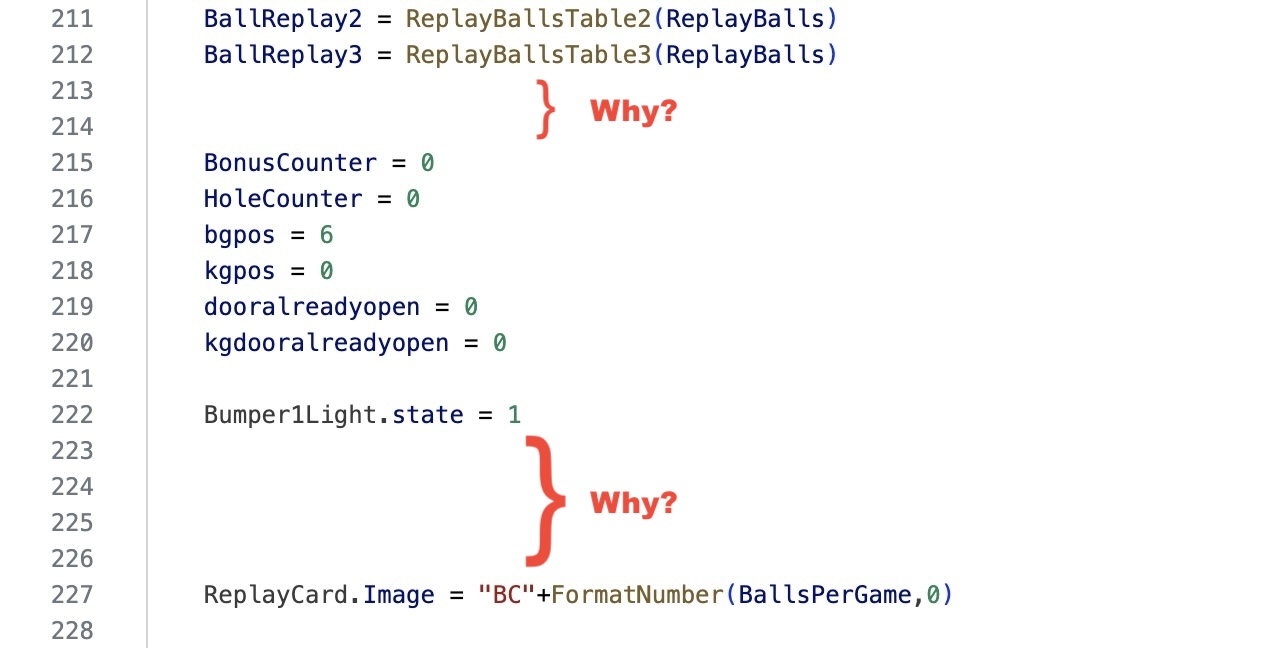
Sometimes you want an empty line to perhaps signify a natural break in a subroutine — in much the same way you break up prose with paragraphs. I can’t think of a good reason for having two or more consecutive empty lines though, so I stripped those right out.
It’s difficult to know where whitespace is being used as a kind of “rest” for the code within a subroutine without spending time to understand the entire routine — so I made quick judgement calls as to when to remove single empty lines.
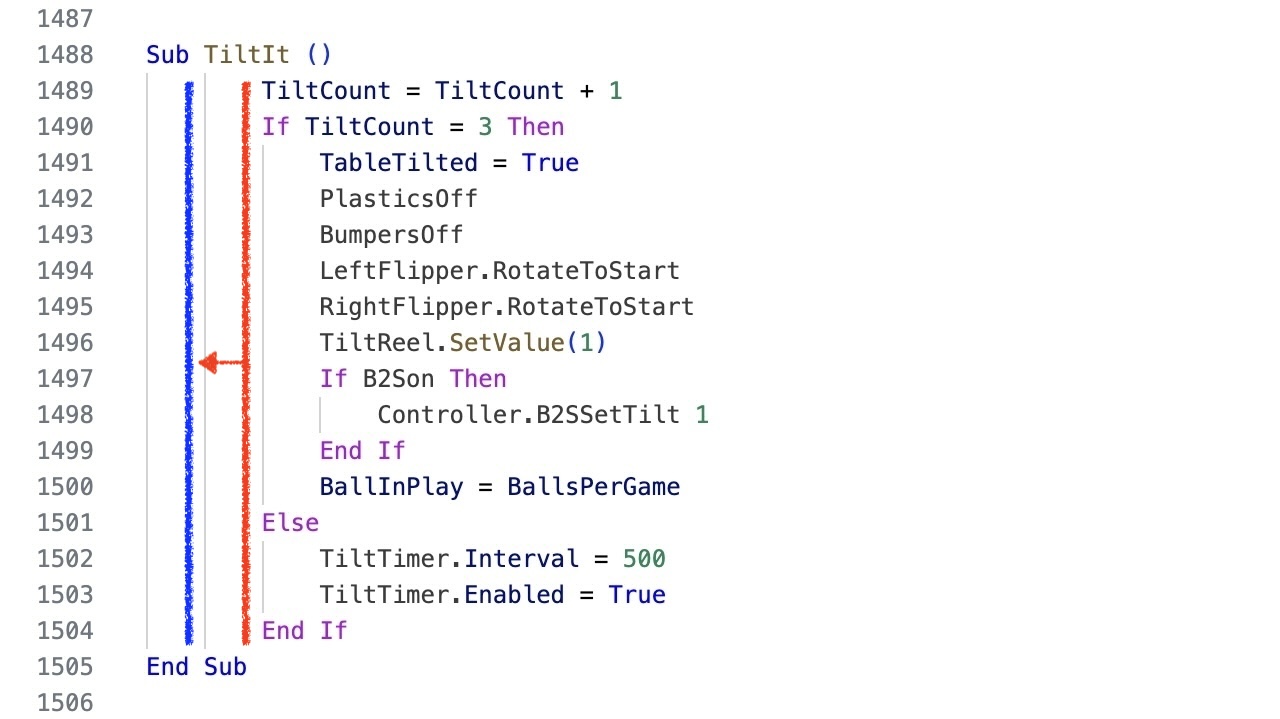
Indentation
Occasionally I found sections of code that were over-indented and so pulled them back.
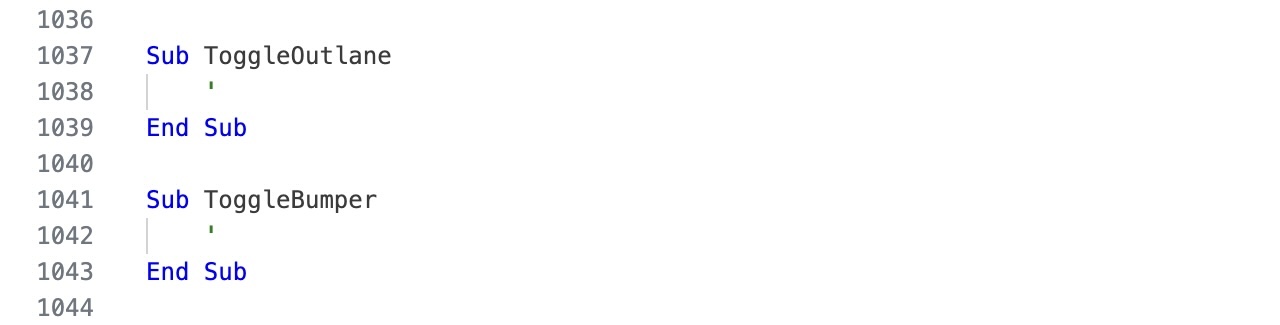
Empty Routines
I don’t mind empty subroutines. When new to a script it seems risky to remove them. Perhaps they’re orphaned routines that are used in other tables. Perhaps they are placeholders. If we leave them but want to make them look like we know they’re there, I like to add just a little empty comment (the apostrophe or single-quote).
When thinking about removing code, ChatGPT reminds us of Chesterton’s Fence: “Named after the English writer and philosopher G.K. Chesterton. The idea is that if you come across a fence in the middle of nowhere and don’t understand its purpose, it’s foolish to tear it down until you understand why it was put there in the first place.”
Back to VPX
After having invested easily an hour linting Teacher’s Pet, I can announce that it is a little easier on my eyes and removing some of the whitespace shaved nearly 10% of the lines of code from the script. There was more I could do but I made, for me, the right trade-off on time spent vs. code cleanliness.
When happy with the linting, the real test is to put the edited text back into VPX and fire up the table.
Since as I say, the script is just simple text, moving it from VSCode to VPX is just a matter of
Click the
I'll have more to say in later posts about dealing with bugs. But if you're careful with linting when you click
Going Further
If you enjoy linting (and, I don’t know, some people might find it kind of relaxing — like putting together a jigsaw puzzle) there is potentially several hours more work you could do. I did not apply PascalCase to all the variable and routine names. Additionally, there are orphaned variables and possibly subroutines that could be removed wholesale. As I pointed out earlier, you have to be careful not to remove something that is part of the table’s operation, but in addition to perhaps shaving another 10% off the amount of code in the script, what will be left behind is all real code and real variables/constants.
If you spent enough time to understand what each subroutine does it would be nice too to “self-document”
the script a little better by renaming variables and routines to something more self-explanatory. Replace
loadhs() with LoadHighScores(), for example.
You may well find this exercise tedious, and I don’t blame you. I think everyone should do it once though, to some degree, for one table at least. You’ll find you gain a little familiarity with the code this way — even if you’re only just glancing at it.
The linted version of the script is available for download from Github.
In the next post in this series we are going to remove existing sound code in the script and move in new sound code.
The next VPX post is: VPX Scripting — Part 3 (Cut & Paste)